Vagrant in 2 Minutes – for Windows Users
Since its release 6 years ago in 2010 Vagrant has been a bit of a game changer, and has made our lives, as developers, a whole lot easier. So what exactly is Vagrant for those of you who don’t know?
Vagrant is a software that allows you to create, configure and manage virtual development environments. Vagrant serves as a wrapper library that uses virtualization software such as VMware, Virtual Box, etc… to allow you to create a local virtual machine and connect into it using simple commands like “vagrant Up” and “vagrant SSH”.
For development, Vagrant allows you to work between the virtual machine and your local machine by placing files in the Vagrant folder.
The files remain synched between the local or “host” machine and the virtual machine, allowing you to use tools on your local, Windows machine (e.g. editor, source control management client, difference viewer), while previewing the changes in the virtual environment.
It also allows you to package this environment into a “Box” with the same packages, programs, libraries and then transfer it to other machines and programmers without them having to setup anything else additionally.
Setting up the box
The setup of Vagrant is very simple once you know what you’re doing. (Otherwise it can take you hours figuring out what Vagrant is, how to set it up, the boxes, networking, port forwarding, etc.)
Here’s what you need to know to get a virtual development up and running in a fraction of the time. If you want more specifics and a full list of docs, Check out VagrantUp.com.
Download Vagrant:
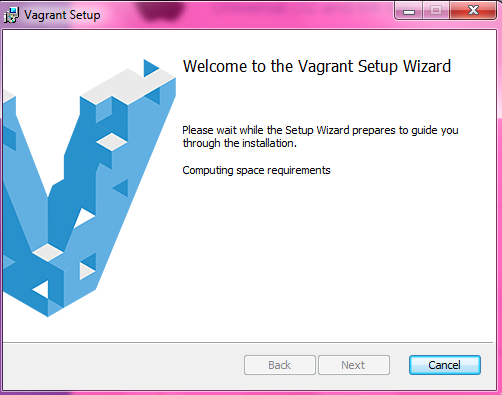
If you haven’t already go to https://www.vagrantup.com/downloads.html and download the Vagrant executable for your OS.
- Once you’ve downloaded Vagrant just go through the installer; it should be pretty straightforward.
Download Virtualization Client:
Next you will need to download the software that provides the virtualization. I recommend either VMware or Virtual Box since these two are the most popular and stable clients. (Click on the highlighted text for links to each download)
Download SSH terminal:
You will need to download a SSH terminal in order to connect to your virtual machine from your local machine. I recommend Git Bash or Cygwin, but feel free to use what you’d like.
Setting Up the Vagrant Environment:
Now that we have our necessary software we can begin the initial setup of Vagrant. The first thing you want to do is figure out what you want to get out of Vagrant. Whether you will be doing actual development or just running basic scripts, having a general idea of what you want to get out of Vagrant will make this setup a whole lot easier.
Vagrant Boxes: Vagrant boxes are pre-assembled Linux software environments that come in a variety of different flavors and packages. Check out Atlas Hashicorp, where you can find the latest boxes assembled and ready for deployment. Just download them and run Vagrant init and Vagrant up.
Getting Started
Grab your popcorn and fire up your favorite SSH client because we’re just getting started. For this post I will be going over the steps using the Git Bash (if you haven’t so already, please see the link above on downloading the SSH terminal).
- Run Git (or your terminal); if on Windows run as an administrator.
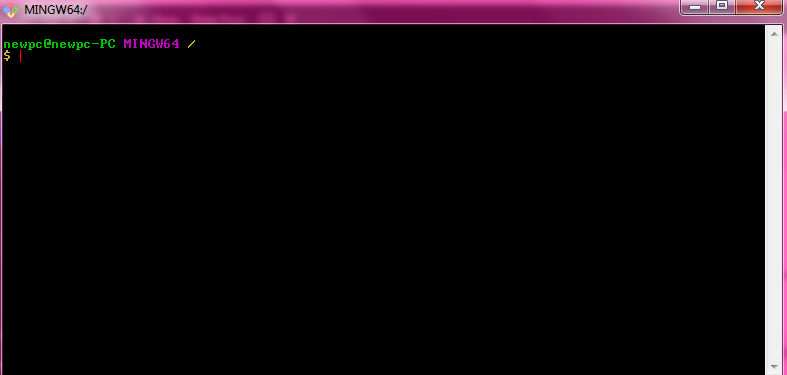
- On the terminal, change to the desired directory where you want to place the files, for this example, cd(change directory) to /c/programfiles.
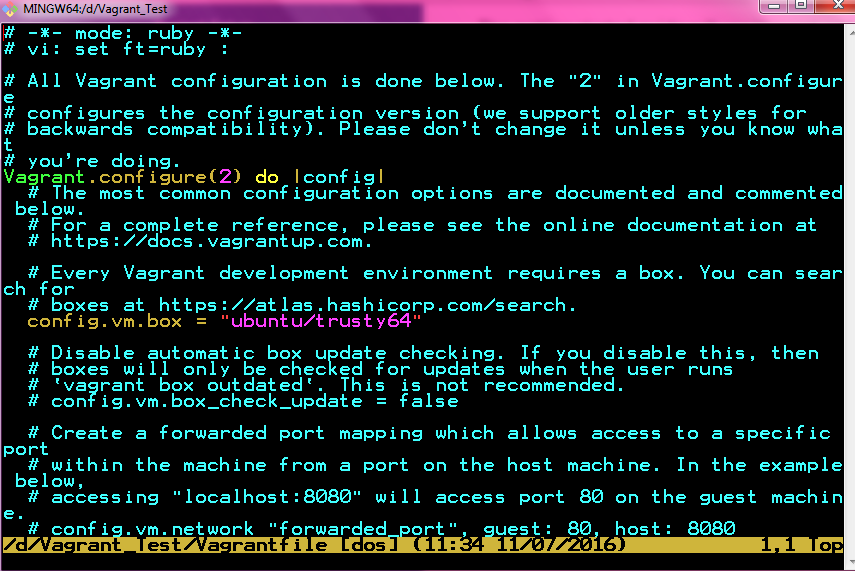
- Run the following command: “vagrant init ubuntu/trusty64”. This downloads the Vagrantfile which we will use to launch our environment, I will be using the latest version of Ubuntu x64 for this example.

- Once you have the Vagrantfile downloaded(check using ls Vagrantfile), run “Vagrant up” to fire up your virtual machine. You should see the following:

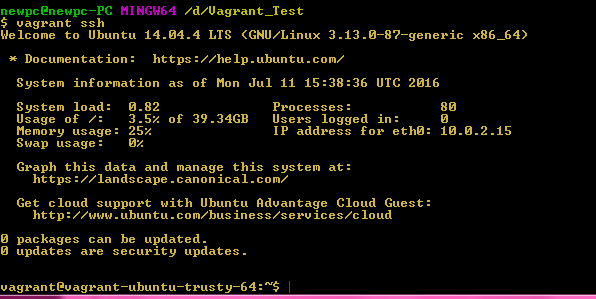
- Now that the machine has been fired up, it’s time to connect. Use “Vagrant SSH” to connect to the virtual environment directly from your local environment.
Next Steps
Congratulations, you’ve successfully setup a virtual development environment which is accessible from your local machine. Now what you do with this power is completely up to you. You can develop locally and make the machine accessible over a network via ports or you can just package the “box” and send it to your team for development, the possibilities are endless!
For a complete setup guide along with full features please visit: https://www.vagrantup.com/docs/